First, we will receive new tasks, and the customer will provide drawings (2D, 3D) of the plastic products, sometimes with product samples.

Second: Next, the relevant person in charge of the mold factory reviews the drawings of the plastic products provided by the customer. They prepare a mold opening review document (mold opening data) and provide comments or suggestions on any unreasonable or incorrect aspects of the product.
The main content of the closing documents is as follows:
1: The number of holes of the product in the mold. the first mock examination produces several products. This directly determines the size of the mold and the feasibility of production.
2: What is the material of the product? What is the shrinkage rate?
3: The way of feeding the product and the position of feeding.
4: The position of the parting line and the treatment method of the undercut.
5: Some problems with the product itself, such as sharp corners, thin steel, and areas that are too thick or too thin. If the designer is not clear about these issues, they generally cannot make a conclusion without consulting their supervisor or client to ensure the accuracy of the content.

Three: After review and confirmation, each factory has different ways of doing things, and there are different practices here. There are generally two ways:
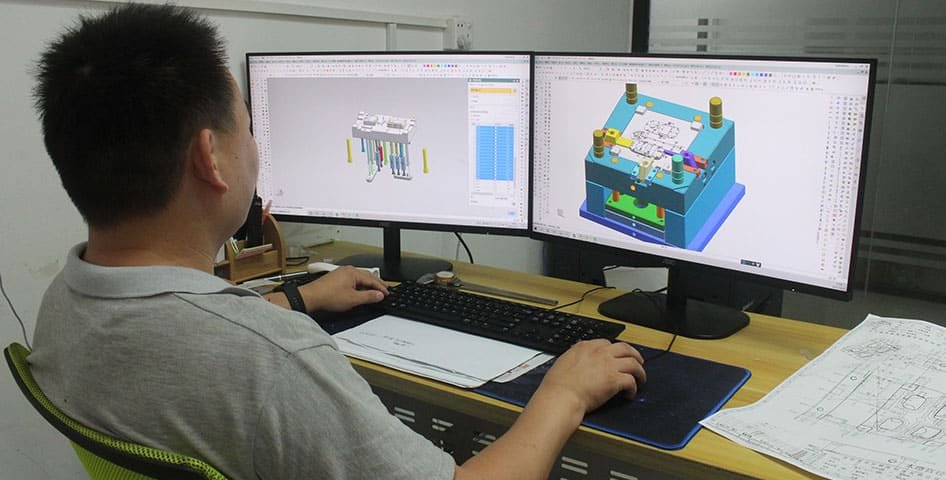
1: 3D product drawings are converted to 2D, and then 2D assembly drawings are drawn using CAD software. The 3D software is used to remove the mold and refine it. Finally, various processing drawings and wire cutting drawings are produced using CAD. The 3D is processed by a machining center and the electrodes are removed. (We call this model 2+3)
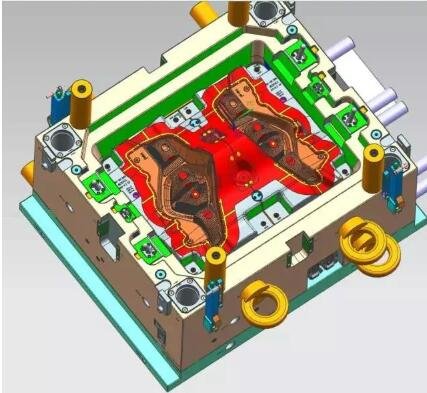
2: Some companies do not use CAD software, but use full 3D to complete the entire mold. At this time, they directly complete the detailed 3D of the entire mold in the 3D software. Then they directly use the 3D software to produce the drawing. Of course, if some simple products, customers only provide 2D drawings, we have to draw the 3D ourselves, but this is relatively rare, most customers will provide 3D drawings.
Design steps of the 2+3 model
1: Product conversion to 2D
2: Product shrinkage
3: Product ranking, determine the size of the mold core
4: Determine the position and size of the slider and the slanting top parting line
5: Determine the size of the mold base
6: Ordering materials and moulding frames
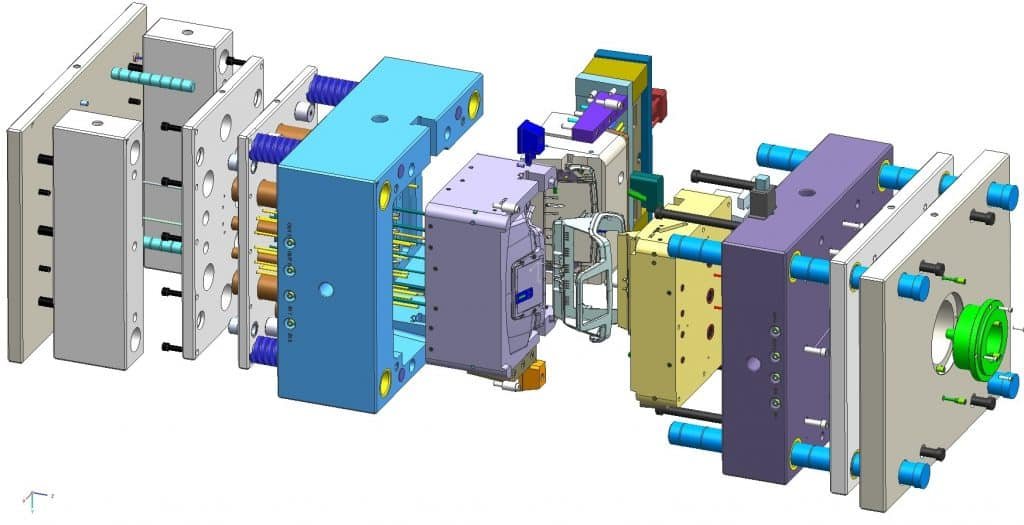
7: Design the complete assembly drawings of the thimble, water transport, screws, etc.
8: inspection, audit, marking, and frame
9: 3D modeling, refinement, and review
10:2D production drawing, wire cutting drawing, etc.
11: List of Parts/Materials
12: Print

V: Design steps for full 3D mode
1: Product shrinkage
2: Positioning, determining the size of the mold core
3: Determine the sliding block, ram, and other parts and sizes
4: Determine the size of the mold base
5: Ordering materials and moulding frames
6: Refinement design of thimble, water transport, screw, etc.
7: inspection, audit, and drawing
8: Print.
