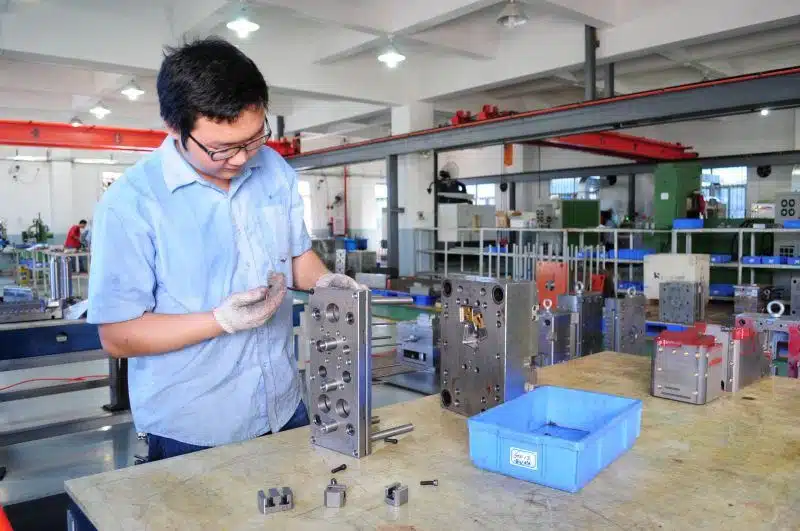
When our injection molding factory receives a new mold that needs to be sampled and tested, we always yearn to test a result earlier and pray for a smooth process to avoid wasting time and causing trouble.
But here we must remind two points: First, mold designers and manufacturing technicians sometimes make mistakes. If we do not increase our vigilance during mold testing, small mistakes may cause great damage. Secondly, the result of the trial mold is to ensure smooth production in the future. If reasonable steps are not followed and appropriate records are not made during the trial molding process, it is impossible to ensure smooth mass production. What we emphasize more is that “if the mold is used smoothly, it will quickly increase the profit recovery, otherwise the cost loss caused will be even greater than the cost of the mold itself.”

Why do we have to try the mold?
Most defects in formed products are caused during the plasticization and injection molding stages, but sometimes they are also related to improper mold design. Possible influencing factors include: number of mold cavities, design of cold/hot runner systems, type, position, and size of injection ports, as well as the structure of the product itself. Therefore, in order to avoid product defects caused by mold design, we need to analyze the design and process parameters of the mold when making it.
After obtaining the trial mold results, the operator usually needs to evaluate the specific situation of the mold to avoid unnecessary costs and time in the process of modifying the mold. In most cases, this evaluation also includes setting machine process parameters. That is to say, in order to make up for the shortcomings in mold design, operators may make incorrect settings without knowledge.

In this case, the production and operation process of the equipment is abnormal because the range of parameter settings required to produce qualified products is very small. Once there is any slight deviation in the parameter settings, it may lead to the final product quality far exceeding the allowable error range, and the actual production cost generated is much higher than the cost of mold optimization in advance.
The purpose of trial molding is to identify optimized process parameters and mold design. In this way, even if factors such as materials, machine settings, or environment change, a stable and uninterrupted batch production environment can still be ensured, not just to obtain a good sample. This is very important.
The Eight Steps of the Mold Trial Process
Step 1: Set the temperature of the bucket
It should be noted that the initial barrel temperature setting must be based on the recommendations of the material supplier. This is because different manufacturers and brands of the same material may have significant differences, and material suppliers often have a deep research and understanding of their own materials. Users can make basic settings based on their recommendations, and then make appropriate adjustments according to the specific production situation.
In addition, it is necessary to use a detector to measure the actual temperature of the melt. Because the temperature of the material barrel we set often cannot guarantee 100% consistency with the melt temperature due to differences in environment, temperature sensor model, and location depth. Sometimes, due to the presence of oil pollution or other reasons, there is a significant difference between the actual temperature of the melt and the set temperature of the barrel (previously, we had examples where the temperature difference between the two could reach up to 30 ℃).
Step 2: Set the temperature of the mold
Setting initial mold temperature based on recommended values from material suppliers should also be adhered to.
Note that when discussing mold temperature we refer to surface temperature of mold cavity rather than what appears on a temperature controller display screen. Due to factors like environmental considerations and power selection of controllers, display screen displays may often do not correspond with mold cavity surface temperatures accurately.
Prior to conducting formal test molds, it is necessary to measure and record the surface temperature of the mold cavity and measure at various positions within it to assess whether temperature balance has been achieved at each position – with results then recorded as reference data for future optimization of this mold design.
Step 3: Set injection molding machine parameters
Based on experience, set initial limits for plasticization amount, injection pressure, injection speed, cooling time, and screw speed, and optimize them appropriately.
Step 4: Conduct a filling test to identify the transition point
The transition point refers to the transition point from the injection stage to the pressure holding stage, which can include screw position, filling time, and filling pressure. This is one of the most important and fundamental parameters in the injection molding process. In actual filling tests, the following points need to be followed:
The holding pressure and holding time during the experiment are usually set to zero;
The product is generally filled to 90%~98%, depending on the wall thickness and the structural design of the mold;
Due to the impact of injection speed on the position of the transfer point, it is necessary to reconfirm the transfer point every time the injection speed is changed.
Through filling tests, users can see the flow path of the material in the mold cavity, thereby determining where the mold is prone to air trapping or where exhaust needs to be improved.
Step 5: Identify the limit value of injection pressure
During this process, attention should be paid to the relationship between injection pressure and injection speed. For hydraulic systems, pressure and speed are interrelated. Therefore, it is not possible to set both parameters simultaneously to meet the required conditions.
The injection pressure set on the screen is the limit value of the actual injection pressure, therefore, the limit value of the injection pressure should be set to always be greater than the actual injection pressure. If the injection pressure limit is too low, causing the actual injection pressure to approach or exceed the limit value of the injection pressure, the actual injection speed will automatically decrease due to power limitations, thereby affecting the injection time and molding cycle.
Step 6: Identify the optimized injection speed
The injection speed referred to here refers to an injection speed that simultaneously minimizes the filling time and minimizes the filling pressure. In this process, the following points need to be noted:
The surface defects of most products, especially those near the gate, are caused by injection speed;
Multi stage injection is only used when one injection cannot meet the process requirements, especially during the trial molding stage;
When the mold is intact, the pressure transfer point is set correctly, and the injection speed is sufficient, the speed of injection is not directly related to the generation of burrs.

Step 7: Optimize the holding time
The holding time is also the condensation time of the gate. Generally, the condensation time of the gate can be determined by weighing to obtain different holding times, and the optimal holding time is the time when the product mold weight reaches its maximum.
Step 8. Optimize other parameters, such as holding pressure and locking force, etc
Finally, it should be emphasized that the purpose and focus of trial molding is to optimize the mold and process to meet production requirements, rather than just testing good product samples.